If you’ve ever found yourself wondering how to connect your RV to water, electricity, and sewage when camping, you’re in luck! Figuring out the ins and outs of hooking up these essential services can seem daunting at first, but fear not! In this article, we’ve got you covered with some simple and friendly tips to make your campground experience a breeze. So, whether you’re a seasoned RV enthusiast or a first-time camper, read on to learn how to effortlessly connect your RV to water, electricity, and sewage at a campground.

How Do I Hook Up My RV To Water, Electricity, And Sewage At A Campground?
Are you getting ready for an exciting RV camping adventure? One of the important things you’ll need to know is how to hook up your RV to water, electricity, and sewage at the campground. Don’t worry, it’s easier than you might think! In this comprehensive guide, we’ll walk you through each step of the process, ensuring that your RV setup is hassle-free and comfortable. So let’s dive in!
Water Hookup
Obtain a Water Hose
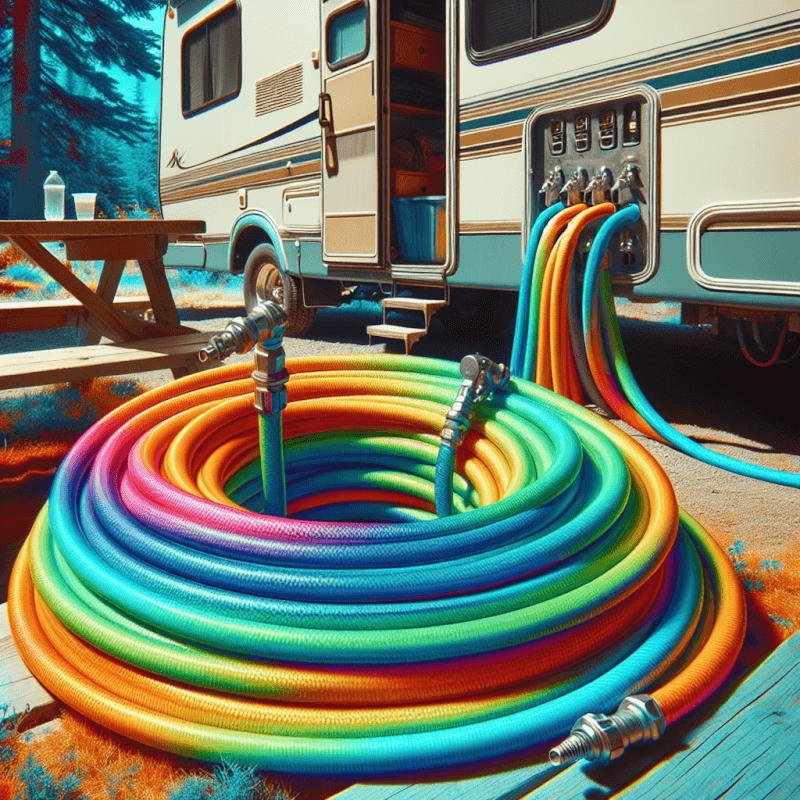
The first step to connecting your RV to the campground’s water supply is to obtain a water hose. Make sure to choose a hose specifically designed for RV use, as it will typically be more durable and safe to use with drinking water. Look for a hose that is lead-free and approved for potable water.
Determine the Campground Water Source
Once you have your water hose ready, locate the campground’s water source. Most campgrounds have individual water hookups at each campsite, but some may have centralized water stations. Take a walk around the campground and identify the closest water source to your RV site.
Connect the Water Hose to the RV
With the water source identified, it’s time to connect the water hose to your RV. Locate the freshwater inlet on your RV, which is typically located on the side or rear of the vehicle. Attach one end of the water hose to the freshwater inlet and make sure the connection is secure.
Turn On the Water Supply
Now that the hose is connected, turn on the water supply at the campground. Slowly open the valve to avoid sudden water pressure surges in your RV’s plumbing system. Allow the water to flow through the hose and into your RV. This will fill up your freshwater tank and provide water to your faucets, shower, and toilet.
Check for Leaks
Once the water is flowing, inspect the connections for any signs of leaks. Look for dripping water or wet spots around the hose and RV connections. If you notice any leaks, tighten the connections or replace any faulty parts. It’s important to fix leaks promptly to prevent water damage and conserve water during your camping trip.

Electricity Hookup
Understand the RV’s Electrical System
Before hooking up your RV to the campground’s electrical supply, it’s crucial to understand the electrical system of your RV. Most RVs have either a 30-amp or 50-amp electrical system. Determine the type of electrical system your RV has, as this will determine the type of power cord and adapter you’ll need to connect to the campground’s power source.
Determine the Campground’s Electrical Hookup
Next, find the campground’s electrical hookup. It’s typically a pedestal with outlets that provide electricity to each campsite. Look for the appropriate outlet based on your RV’s electrical system (30-amp or 50-amp). Ensure that the electrical hookup is in good condition and not damaged.
Prepare the RV’s Electrical Connection
Now it’s time to prepare your RV’s electrical connection. Start by turning off all electrical devices inside your RV. Locate the electrical compartment on your RV, which houses the circuit breakers and power cord storage. Open the compartment and unravel the RV’s power cord.
Connect the RV to the Power Source
With the power cord in hand, connect it to the appropriate campground outlet. Make sure the connection is secure and that the cord is not damaged or frayed. Once connected, turn on the circuit breakers inside your RV to restore power. You can now start using electrical devices in your RV, such as lights, air conditioning, and appliances.
Sewage Hookup
Locate the RV’s Sewage Outlet
Now let’s move on to the sewage hookup. To begin, locate the sewage outlet on your RV. It’s usually located on the side or rear of the vehicle, near the bottom. The outlet is typically covered by a cap, which needs to be removed for the sewage hookup.
Obtain a Sewer Hose
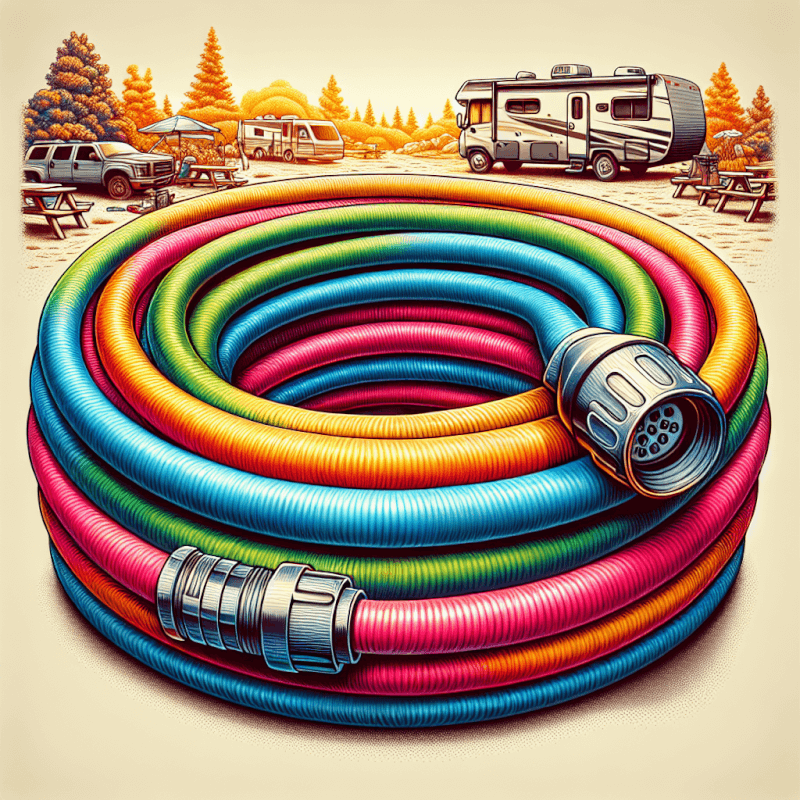
To connect your RV to the sewage hookup, you’ll need to obtain a sewer hose. Make sure to choose a hose specifically designed for RV sewage disposal. Look for a hose with strong construction and tight seals to prevent leaks and unpleasant odors.
Connect the Sewer Hose to the RV
Attach one end of the sewer hose securely to the RV’s sewage outlet. Twist the fitting until it locks into place, ensuring a tight and leak-free connection. It’s important to ensure a proper seal to prevent any sewage from leaking out during the hookup process.
Connect the Other End to the Sewage Hookup
With the sewer hose connected to your RV, it’s time to connect the other end to the campground’s sewage hookup. Locate the sewage hookup at your campsite, which is typically a hole in the ground covered by a cap. Remove the cap, insert the other end of the sewer hose into the hole, and ensure a secure connection.
Ensure Proper Drainage
To ensure proper drainage, make sure that your RV is slightly elevated in the front. This allows gravity to assist in the flow of sewage from your RV to the campground’s sewer system. If needed, use leveling blocks or ramps to achieve the desired elevation.
Clean and Store the Sewer Hose
After you’ve finished using the sewage hookup, it’s essential to clean and store the sewer hose properly. Rinse out the sewer hose with water using a separate hose designated for this purpose. You can also use a specialized hose connector that attaches to a water source to flush out any remaining debris. Once cleaned, ensure the hose is completely drained before storing it in a designated compartment or container to avoid any odors or contamination.
Additional Tips and Precautions
- Before hooking up your RV to any utilities, it’s always a good idea to turn off the main power switch inside your RV to avoid any electrical surges or accidents.
- Use a water pressure regulator to prevent high water pressure from damaging your RV’s plumbing system.
- When connecting the sewer hose, make sure it is long enough to allow flexibility while still maintaining a proper slope for efficient drainage.
- Wear protective gloves and practice good hygiene when handling the sewer hose to minimize the risk of contamination.
- Consider investing in RV-specific surge protectors and water filters for added protection and convenience.
By following these steps and tips, you’ll be able to confidently hook up your RV to water, electricity, and sewage at any campground. Remember, taking the time to properly set up your RV’s utilities ensures a comfortable and enjoyable camping experience for you and your fellow adventurers. Have a fantastic time exploring the great outdoors in your RV!

